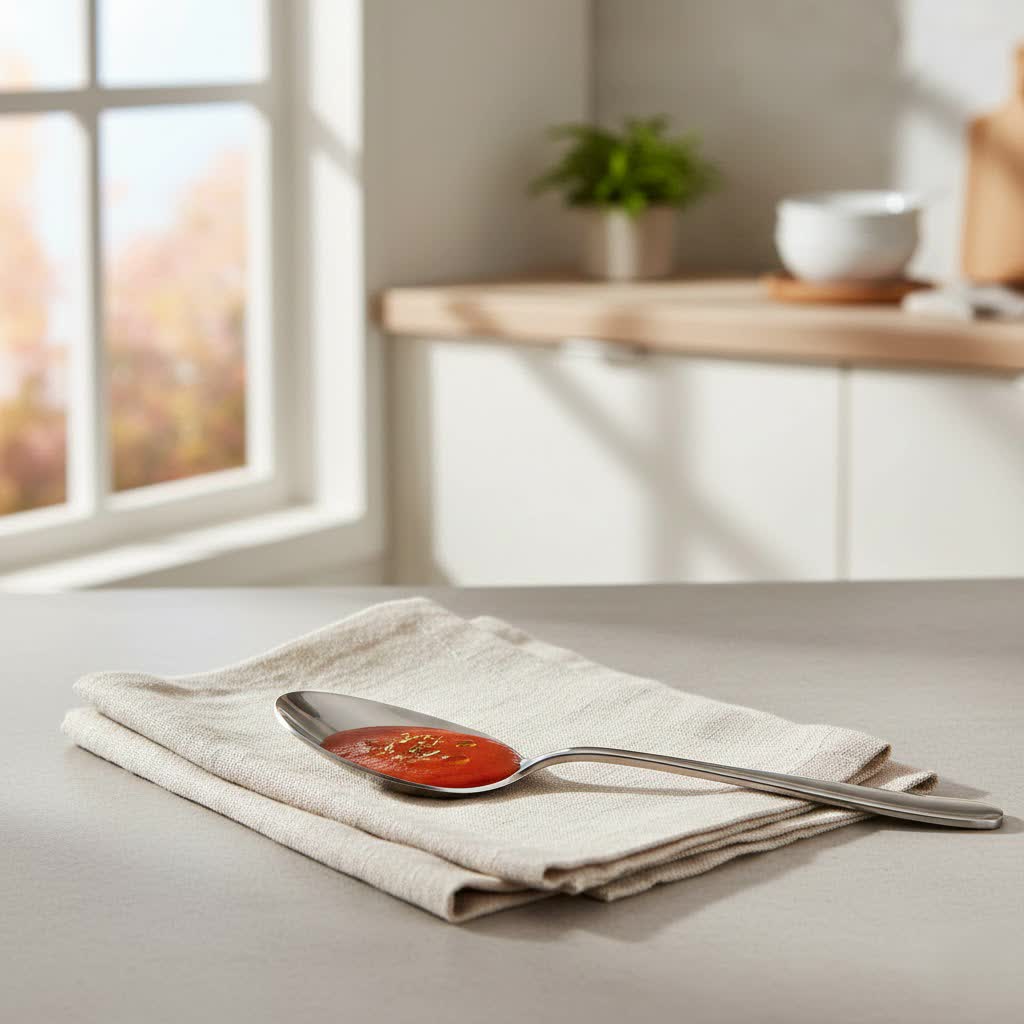
There’s a special satisfaction in setting a table with gleaming stainless steel spoons, isn’t there? But daily use, dishwashers, and even careless storage can leave them looking dull and riddled with unsightly scratches. Before you banish them to the back of the drawer or consider replacing your entire flatware set, know this: restoring their luster is often a straightforward DIY project. With a little time and a few common household items, you can easily polish scratched stainless steel spoons and bring them back to their former glory. Let’s dive into how you can make your beloved cutlery shine again, just like new.
Understanding Scratches on Your Stainless Steel Spoons
Before you begin any polishing, it’s crucial to understand the nature of the scratches on your stainless steel spoons. This assessment will help you choose the most effective and safest DIY method.
Identifying Light vs. Deep Scratches
|
Our Picks for the Best Stainless steel spoon in 2026
As an Amazon Associate I earn from qualifying purchases.
|
||
| Num | Product | Action |
|---|---|---|
| 1 | Winco Stainless Steel Basting Spoon, Solid, 18", 1.5mm |

|
| 2 | Chef Craft 10230 1-Piece Stainless Steel Solid Spoon,13-Inch |
|
| 3 | OXO Good Grips Stainless Steel Spoon |
|
| 4 | Teaspoon Set,16 Piece 6.7" Spoons Silverware, Premium Food Grade Stainless Steel Tea Spoons, Durable Small Spoon, Good Teaspoons, Kitchen Dessert Spoon Set, Mirror Finish & Dishwasher Safe |
|
| 5 | 4 Pcs Cooking Utensils Set, Stainless Steel Kitchen Utensils, Heat Resistant Metal Kitchen Tools Include Solid & Slotted Turner Wok Spatula, Serving Spoon, Ergonomic Handle, Easy to Clean, Silver |
|
| 6 | OXO Steel Cooking Spoon |
|
| 7 | Cuisinart Stainless Steel Solid Spoon |
|
| 8 | Dinner Spoon Set,16 Pcs 7.3" Tablespoons,Premium Food Grade Stainless Steel Spoons,Durable Metal Spoon,Tablespoon,Silverware Spoons Only,Mirror Finish & Dishwasher Safe,Use for Home,Restaurant |
|
| 9 | Dinner Spoon Set,8-Piece 7.3 Inch Soup Spoons,Premium Food Grade Stainless Steel Table Spoon,Durable Metal Tablespoon,Dishwasher Safe Silverware Spoons |
|
| 10 | 2 Pcs Stainless Steel Cooking Spoons Set, Solid & Slotted Metal Serving Spoons, Heavy Duty Sturdy Large Soup Ladle, High Heat Resistant Kitchen Cooking Utensils for Mixing, Stirring, Easy to Clean |
|
Light scratches are typically superficial marks that haven’t significantly penetrated the metal surface. They might appear as hazy lines or minor scuffs that are more noticeable under certain lighting. These are usually the easiest to address with gentle abrasive methods. Deep scratches, on the other hand, are more pronounced and can be felt with a fingernail. They often indicate a significant removal of metal and will require more intensive—and cautious—treatment. It’s important to adjust your expectations; while light scratches can often disappear completely, deeper ones may only be minimized to be less noticeable, rather than fully erased.
The Direction of the Grain
Stainless steel isn’t perfectly smooth; it has a “grain,” much like wood. This grain is the direction in which the metal was brushed or finished during manufacturing. To identify it, hold your spoon under a light and observe the tiny lines on its surface. They will typically run uniformly in one direction, either horizontally or vertically along the spoon. It is absolutely crucial to always work with the grain when cleaning or polishing stainless steel. Rubbing against the grain can create new scratches or worsen existing ones, making the damage more noticeable and harder to fix.
Essential DIY Tools and Materials
You might be surprised to learn that many of the items you need to polish scratched stainless steel spoons are likely already in your kitchen or pantry. Gathering these before you start will make the process smoother.
Here’s a list of common household items and a few optional specialized products that will come in handy:
- Soft cloths or microfiber towels: Essential for applying pastes, cleaning, and buffing. Avoid abrasive sponges or scrubbers for most steps.
- Baking soda: A gentle abrasive that’s excellent for light scratches.
- White vinegar: An acidic cleaner that can be combined with baking soda for extra power.
- Mild dish soap: For initial cleaning of your spoons.
- Non-whitening, non-gel toothpaste: The fine abrasives in some toothpastes can work wonders on minor marks.
- Olive oil: Perfect for adding a protective sheen and blending the finish after polishing.
- Water: For mixing pastes and rinsing.
- Spray bottle: Useful for applying vinegar solutions.
- Fine-grit sandpaper (400-grit to 12000-grit): Use with extreme caution for deeper scratches; this is for more advanced DIYers.
- Commercial stainless steel polish/compound: An alternative for stubborn scratches or for those who prefer a dedicated product.
Simple DIY Methods for Light Scratches
For those annoying, superficial scuffs that dull your spoons, these gentle methods are your best first line of defense. Always remember to work in the direction of the grain!
The Baking Soda Paste Method
Baking soda is a miracle worker for many cleaning tasks, and light scratches on stainless steel are no exception. Its fine granular texture provides a mild abrasive action that can effectively buff out minor imperfections.
To use this method, mix about two parts baking soda with one part water to create a thick paste. The consistency should be similar to toothpaste. Apply a small dollop of this paste directly onto the scratched area of your spoon using a soft cloth or a clean, soft-bristled toothbrush. Gently rub the paste onto the scratch, moving exclusively in the direction of the stainless steel’s grain. Continue rubbing for a minute or two, applying light pressure. Rinse the spoon thoroughly under running water to remove all baking soda residue and dry it immediately with a clean, lint-free cloth. You’ll often see a noticeable improvement.
Vinegar and Dish Soap Solution
Combining white vinegar with a touch of dish soap and baking soda creates a powerful yet gentle cleaning and polishing agent that can help diminish light scratches while restoring overall shine.
Start by mixing a small amount of white vinegar with a drop or two of mild dish soap in a spray bottle. Clean your spoon first with regular dish soap and water, then dry it. Sprinkle a small amount of baking soda directly onto the scratched area. Now, lightly spray the baking soda with your vinegar and dish soap solution. This will create a gentle fizzing reaction. Using a soft cloth or sponge, gently scrub the bubbling mixture into the scratch, once again moving only with the grain of the stainless steel. The combination helps lift grime and gently abrade the surface. After a few minutes, rinse the spoon clean and dry it with a soft cloth.
The Toothpaste Trick
Many non-gel, non-whitening toothpastes contain very fine abrasives that can be surprisingly effective at polishing out minor scratches on stainless steel. Avoid gel or whitening toothpastes, as they may contain ingredients that could be too harsh or leave residues.
Apply a small dab of non-gel, non-whitening toothpaste onto a soft, damp cloth. Gently rub the toothpaste over the scratch, making sure to follow the grain of the stainless steel. Continue rubbing in small, circular motions (but always along the grain) for about 30 seconds to a minute. The fine grit in the toothpaste will work to gently buff away the surface imperfections. After treating the scratch, rinse the spoon thoroughly with water to remove all toothpaste residue and then dry it immediately with a clean, lint-free cloth.
Olive Oil for a Finishing Touch
While olive oil won’t remove scratches, it’s an excellent final step after any polishing treatment. It helps to hydrate the metal, blend any minor inconsistencies, and leave your spoons with a beautiful, streak-free shine.
After you’ve cleaned and dried your polished spoon, dab a tiny amount of olive oil onto a clean, soft cloth or paper towel. Gently buff the entire surface of the spoon, again following the grain. The oil will create a protective, lustrous sheen that makes your stainless steel look richer and can help obscure any remaining faint marks. Wipe away any excess oil with a separate clean cloth to prevent a greasy feel.
Tackling Deeper Scratches with Care
For scratches that are more than just superficial, you might need to employ slightly more aggressive methods. However, these require extra caution and precision to avoid causing more harm than good.
Fine-Grit Sandpaper Technique
Addressing deeper scratches with sandpaper is a method best reserved for those with some DIY experience and a steady hand. It involves carefully abrading the surface to smooth out the scratch, then gradually refining the finish. Always work in an inconspicuous area first if you are unsure.
You will need a range of very fine-grit wet/dry sandpaper, starting around 400 or 600 grit, and progressing through finer grits like 1000, 1500, 2000, and even up to 12000 if you want a mirror-like finish. Begin by thoroughly cleaning the spoon. Lightly dampen the coarsest sandpaper you are using (e.g., 400-grit). Gently rub the sandpaper over the deep scratch, applying minimal pressure and, most importantly, moving only in the direction of the stainless steel’s grain. Never rub across the grain. The goal is to slowly “sand down” the edges of the scratch. After a minute or two, rinse the spoon and switch to the next finer grit sandpaper. Repeat the process, gradually increasing the grit, until the scratch becomes much less visible and the area blends with the surrounding metal. Finish by buffing with olive oil or a dedicated stainless steel polish. This method is meticulous and requires patience.
Commercial Stainless Steel Polishes and Compounds
For those who prefer a specialized solution or are dealing with scratches that seem resistant to homemade remedies, commercial stainless steel polishes and compounds can be very effective. These products are formulated with fine abrasives and protective agents designed specifically for stainless steel.
Look for a polish or compound that specifies scratch removal for stainless steel. Brands often provide clear instructions, but typically you’ll apply a small amount to a clean, soft cloth. Rub the product into the scratched area, consistently following the grain of the stainless steel. Allow it to sit for the recommended time, then buff it off with a separate clean, dry microfiber cloth. These polishes often leave a protective layer that helps resist future marks and enhances the overall shine.
Step-by-Step DIY Polishing Workflow
Regardless of the method you choose, a general workflow will help ensure the best results when polishing your stainless steel spoons.
- Preparation (Thorough Cleaning): Before attempting any scratch removal, wash your stainless steel spoons with warm water and mild dish soap. This removes any food residue, grease, or grime that could interfere with the polishing process or cause further scratching. Rinse thoroughly and dry completely with a clean cloth.
- Application (Chosen Method): Select the appropriate DIY method based on the depth of the scratches (baking soda, toothpaste, sandpaper, or commercial polish). Apply the chosen agent to the scratched area using a soft cloth, always working in the direction of the grain.
- Rinsing & Drying (Residue Removal): After applying and rubbing, it’s crucial to rinse the spoon thoroughly under running water. Ensure all polishing agent residue is completely removed. Any leftover paste or compound could dry and leave unsightly marks. Immediately dry the spoon with a clean, lint-free cloth to prevent water spots.
- Buffing (Achieving Brilliance): Once dry, use a fresh, soft microfiber cloth to vigorously buff the entire spoon. You can also apply a tiny drop of olive oil at this stage. Buffing helps to bring out the natural shine of the stainless steel, blend any treated areas, and remove any remaining streaks, leaving your spoon sparkling clean and scratch-free.
Maintaining Your Stainless Steel Spoons
Prevention is always better than cure, especially when it comes to keeping your stainless steel spoons looking their best. Simple habits can significantly reduce the likelihood of new scratches appearing.
Proper Washing and Drying
How you wash your spoons makes a big difference. Avoid tossing them haphazardly into a sink with other metal items, which can cause scratches. If using a dishwasher, place spoons in the cutlery basket so they don’t clatter against each other or other hard surfaces. For handwashing, use a soft sponge or cloth and mild dish soap. The most important step for maintaining shine and preventing water spots (which can look like new scratches) is to dry your spoons immediately after washing. Air-drying often leads to mineral deposits, especially in hard water areas.
Smart Storage Solutions
The way you store your spoons is critical. Instead of dumping them all into a drawer where they can rub and scratch against each other, consider using a cutlery organizer with separate compartments. This keeps each spoon from jostling and prevents contact with other metals or abrasive surfaces. You might also consider storing your most cherished or delicate stainless steel pieces in soft cloth rolls or sleeves.
Regular Polishing for Lasting Luster
Even without visible scratches, stainless steel can lose its brilliance over time due to mineral deposits and general wear. A quick, regular polish can keep them looking new. Once a month, or whenever they start to look a little dull, give your spoons a quick buff with a soft cloth and a tiny bit of olive oil, or a specialized stainless steel cleaner. This quick maintenance ritual will help them retain their original shine and prevent minor blemishes from becoming more noticeable.
Advantages of Polishing Your Stainless Steel Spoons
Taking the time to polish your scratched stainless steel spoons offers several benefits beyond just aesthetics.
Restored Aesthetics
The most immediate and satisfying advantage is the visual transformation. Polishing removes the signs of wear and tear, restoring the sleek, reflective surface that makes stainless steel so appealing. Your spoons will once again gleam under the light, enhancing the overall presentation of your table setting and making every meal feel a bit more special. This renewed appearance can give old spoons a new lease on life without the expense of buying new ones.
Extended Lifespan and Value
Stainless steel is inherently durable, but scratches can compromise its surface, making it more prone to collecting grime or showing further signs of wear. By polishing away these imperfections, you’re not just improving their looks; you’re also maintaining the integrity of the metal. This care can significantly extend the lifespan of your flatware, ensuring that your investment continues to serve you beautifully for many years, rather than becoming prematurely worn out.
Hygienic Benefits
Scratches, even microscopic ones, can create tiny crevices on the surface of your spoons where food particles and bacteria might accumulate, making them harder to clean effectively. A smooth, polished surface is not only more aesthetically pleasing but also more hygienic. When the surface is free of deep abrasions, it’s easier to thoroughly wash and sanitize, ensuring a cleaner eating experience and better food safety.
Troubleshooting Common Polishing Issues
Sometimes, the polishing journey might hit a snag. Here are a few common issues and how to troubleshoot them.
- Scratches persist: If light scratches remain after using baking soda or toothpaste, try repeating the process with slightly more pressure (but always with the grain). For deeper scratches, you might need to carefully try a finer grit sandpaper or a stronger commercial polish.
- Dullness or hazing after polishing: This usually indicates residual cleaning agent or water spots. Ensure you rinse thoroughly and dry immediately with a clean, lint-free cloth. A final buff with olive oil can often resolve haziness.
- New scratches appear: You might be rubbing against the grain, using an abrasive cloth, or applying too much pressure. Re-evaluate your technique and ensure you are always moving with the grain and using soft materials.
Conclusion
Saying goodbye to scratched and dull stainless steel spoons doesn’t have to mean buying a whole new set. As we’ve seen, with a few simple household items and a little elbow grease, you can effectively polish scratched stainless steel spoons and bring back their original, sparkling charm. From tackling light surface scuffs with baking soda or toothpaste to carefully addressing deeper marks with fine-grit sandpaper, the power to restore your flatware is in your hands. Not only will you revive their aesthetic appeal, but you’ll also extend their lifespan and ensure they remain a hygienic part of your kitchen. So, gather your materials, assess those scratches, and get ready to enjoy the satisfaction of seeing your spoons gleam once more.
What DIY polishing tricks have worked best for you?
Frequently Asked Questions
Can I use any type of toothpaste to remove scratches?
It’s best to use a non-gel, non-whitening toothpaste. These typically contain fine abrasive particles that can gently buff away minor scratches without being too harsh or leaving behind residues that might be present in gel or whitening formulations.
How often should I polish my stainless steel spoons?
For light scratches, you can polish as needed. For general maintenance and to maintain a lasting luster, a quick buff with olive oil or a dedicated stainless steel cleaner once a month, or whenever your spoons appear dull, is usually sufficient.
What if the scratch is too deep to remove?
For very deep scratches, complete removal might not be possible with DIY methods. Your goal should be to minimize their appearance, making them less noticeable. If a scratch is very deep and bothersome, or if you’re working with a highly valuable piece, you might consider consulting a professional metal restorer.
Is it safe to use sandpaper on stainless steel spoons?
Yes, but only very fine-grit wet/dry sandpaper (e.g., 400-grit up to 12000-grit) should be used, and always with extreme caution. It’s crucial to work only in the direction of the stainless steel’s grain and to gradually progress through finer grits to avoid creating new, more visible marks. This method is best for experienced DIYers.